Ready to give your performances, presentations, or events the literal lift they deserve? Building a stage platform might seem daunting, but with the right guidance, you can learn exactly how to make a stage platform that’s both sturdy enough for heavy use and cleverly designed for easy portability. Forget flimsy setups or expensive rentals; we’re diving deep into crafting a professional-grade wooden platform that can be assembled, disassembled, and moved with confidence.
At a Glance: Crafting Your Sturdy, Portable Platform
- Design for Purpose: Match height, size, and weight capacity to your specific needs.
- Wood is Your Friend: Understand why plywood and lumber are ideal for DIY platforms.
- Precision Cuts: Learn the tricks for accurate framing dimensions and secure joinery.
- Removable Leg System: Master the hex bolt method for true portability and stability.
- Beyond the Build: Explore tips for sound dampening, storage, and long-term durability.
- Safety First: Prioritize robust construction and regular inspections for peace of mind.
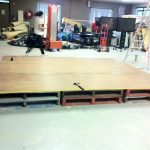
Laying the Groundwork: Why a DIY Wooden Platform?
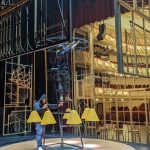
Stage platforms provide that essential elevation, transforming any space into a designated area for visibility, improved acoustics, and a touch of professionalism. Think of a local band gaining better sightlines at a community event, or a speaker commanding attention at a presentation. While materials like steel or plastic exist, wood, specifically lumber and plywood, stands out for DIY builders due to its cost-effectiveness, ease of workability with standard tools, and inherent strength. It’s the perfect blend of accessibility and capability for temporary or semi-permanent setups.
Crafting Your Platform Vision: Planning for Success
Before you even touch a saw, a solid plan is your most valuable tool. This isn’t just about cutting wood; it’s about anticipating every aspect of your platform’s life cycle, from its inaugural performance to its storage between gigs.
Defining Your Platform’s Purpose and Profile
Start by nailing down the basics. Will this platform host a full drum kit and three musicians, or just a single presenter and a podium? This distinction dictates the necessary size, shape, and especially, the height. A small speaking riser might be 6-12 inches tall, while a band stage could easily reach 24 inches or more. Visualize the end-use to prevent costly reworks later.
Calculating Weight Capacity: Always Overestimate
Safety is paramount. You need to know the absolute maximum weight your platform might bear. This includes performers, instruments, sound equipment, lighting, and any scenery. A good rule of thumb is to factor in 100-150 pounds per square foot, then add a significant buffer. For instance, if you anticipate two people (350 lbs), a drum set (200 lbs), and an amp (50 lbs) on a 4’x8′ platform, that’s 600 lbs total. Designing for 800-1000 lbs gives you a critical margin of error.
Designing for Portability and Modularity
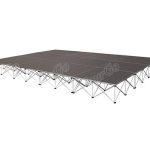
If your platform needs to move or store away, modularity is key. Instead of one giant, heavy piece, plan for several smaller, manageable sections (e.g., 4’x4′ or 4’x8′ units) that can be bolted together. This makes transport easier, reduces storage footprint, and allows for flexible stage configurations. Think of it like building with large LEGO bricks, where each unit is a self-contained, sturdy platform.
Budgeting for Your Build
Materials costs can vary widely. Outline everything you need, from lumber and plywood to screws, bolts, and any optional finishes. Research local prices for each item. Remember, investing in quality materials upfront often saves money (and headaches) down the line, especially for structural components.
The Right Stuff: Materials & Tools for a Robust Platform
Choosing the correct materials and having the right tools makes all the difference in achieving a sturdy and portable platform. Don’t skimp here; your performers’ safety and your platform’s longevity depend on it.
Your Lumber Choices: The Foundation of Strength
- Framing Lumber: For the main frame and legs, 2x4s or 2x6s are standard (remember, their actual dimensions are closer to 1.5” x 3.5” or 1.5” x 5.5”). 2x6s offer greater stiffness and are recommended for larger spans or heavier loads. For exceptionally sturdy or permanent structures, 4x4s or 6x6s can be used, though they add significant weight.
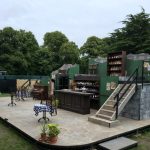
- Pressure-Treated Lumber: If your platform will ever see outdoor use, even temporarily, always opt for pressure-treated lumber. It resists rot and insects, significantly extending your platform’s lifespan in variable conditions.
The Surface: Reliable Sheathing
- ¾-inch Plywood: This is the undisputed champion for the platform’s surface. A full ¾-inch thickness provides excellent rigidity and minimizes flex or bounce underfoot, crucial for performer comfort and safety. Standard 4’x8′ sheets are ideal for modular sections. Anything thinner, like ½-inch plywood, will likely sag and feel unstable, especially over time.
Fasteners & Hardware: The Unsung Heroes
- Screws: Ditch the nails for framing. Deck screws (e.g., 3-inch for framing, 2-inch for sheathing) are superior due to their holding power and corrosion resistance, essential if moisture is a factor. They also allow for easier disassembly if you need to make adjustments.
- Construction Adhesive: Use this in conjunction with screws for an incredibly strong bond. It fills gaps, prevents squeaks, and adds significant shear strength to your joints.
- Hex Bolts, Nuts, and Washers: For truly portable and sturdy legs, 3.5-inch hex bolts (¼-inch or ⅜-inch diameter are common) with corresponding nuts and washers are critical. Washers distribute the pressure, preventing bolts from digging into the wood and minimizing movement that could lead to squeaking or instability. This system allows legs to be removed and reattached securely.
Essential Tools: Your Workshop Arsenal
- Circular Saw or Table Saw: For precise, straight cuts on your lumber and plywood. A miter box (or miter saw) is incredibly helpful for accurate leg cuts and framing angles.
- Drill/Driver: Absolutely essential for pre-drilling holes and driving screws and bolts. An impact driver is a bonus for efficiency.
- Tape Measure, Level, Square: These are your accuracy trio. Don’t eyeball anything; precision here saves frustration later.
- Sandpaper: For smoothing rough edges and preparing surfaces for finishing.
Safety Gear: Non-Negotiable Protection
- Safety Glasses: Protect your eyes from flying debris.
- Ear Protection: Saws and drills are loud. Save your hearing.
- Work Gloves: Protect your hands from splinters and minor cuts.
Optional Enhancements: Customizing Your Platform
- Acoustic Materials: Mass-loaded vinyl (MLV) or acoustic foam can be laid between the frame and sheathing, or on the underside, to reduce sound transmission and impact noise.
- Flooring Material: Carpeting, dance floor vinyl, or painted finishes can improve aesthetics, provide grip, and further dampen sound.
- Paint or Stain: A protective finish enhances durability and aesthetics, especially for outdoor or high-traffic platforms.
Step-by-Step Blueprint: Building Your Sturdy, Portable Platform
Now that you have your plan and materials, let’s get building. This process focuses on creating a robust, removable-leg system that’s the hallmark of a truly portable platform.
1. Precision Planning & Layout
Before any cuts, double-check your dimensions. Lay out your lumber on a flat surface to visualize the frame. For a standard 4’x8′ platform, you’ll need two 8-foot boards for the long sides and three shorter boards for the ends and a central support. Remember to account for the actual thickness of your lumber when cutting cross-members.
2. Cutting Your Frame Lumber
Using your circular saw or table saw, make all your cuts. For a 4’x8′ platform using 2x4s (actual 1.5″ thickness), cut:
- Two 8-foot (96-inch) pieces for the long sides.
- Three 3-foot, 9-inch (45-inch) pieces for the short ends and one central joist. This 45-inch length accounts for the two 1.5-inch thick 8-foot side pieces, making the total width exactly 4 feet.
If your platform is larger than 4’x8′, you’ll need to add more internal supports (joists) spaced every 16 or 24 inches on center to prevent the plywood from sagging. Cut your leg pieces to the desired height now as well.
3. Assembling the Core Frame
Work on a flat, level surface. Apply construction adhesive to the ends of your 3’9″ boards. Position them between the 8-foot long boards to form a rectangle, with one 3’9″ board centered.
- Secure the Joints: Pre-drill pilot holes to prevent splitting, then drive two to three 3-inch deck screws through the long boards into the ends of the shorter boards at each joint.
- Square It Up: Use your square to ensure each corner is exactly 90 degrees. Imperfections here will cause issues later. Clamp or brace the frame as you work to maintain squareness.
4. Securing the Sheathing (Platform Surface)
Place your ¾-inch plywood sheet onto the assembled frame. Ensure it’s perfectly aligned with the edges, leaving no overhangs.
- Adhesive and Screws: Apply a generous bead of construction adhesive along the top edges of all framing lumber.
- Fasten Securely: Start from one corner and drive 2-inch deck screws every 6-8 inches along the edges and over any internal joists. This creates a powerful bond and prevents squeaks. Make sure the plywood edges are flush with the frame.
5. Engineering Removable Legs for Portability
This is where your platform transitions from static to portable. The hex bolt system provides incredible strength and allows for easy disassembly.
- Positioning the Legs: Clamp your cut leg pieces (e.g., 2-foot 2x4s) into each interior corner of the frame. This means the leg will sit flush against two sides of the frame. For larger platforms, additional legs might be needed along central joists.
- Drilling for Bolts: Using a drill bit slightly larger than your hex bolts, drill two diagonal holes through each leg and through the frame. The diagonal angle is key; it creates a much stronger connection than straight holes and resists racking. For example, drill one hole from the outside face of the leg diagonally into the side of the frame, and another from the adjacent outside face of the leg diagonally into the end of the frame.
- Installing Bolts: Insert your 3.5-inch hex bolts through the drilled holes.
- Washers: Place a washer under the bolt head (on the outside of the leg) and another washer and nut on the inside of the frame.
- Tighten: Hand-tighten all bolts first, then use a wrench to secure them firmly, but don’t overtighten to avoid crushing the wood. The goal is snug and immovable.
- Diagonal Bracing (For Taller Platforms): If your platform is 18 inches or taller, adding diagonal bracing between the legs is crucial for preventing wobble. Cut 2x4s to fit diagonally between adjacent legs, forming an “X” shape on each side of the platform, and secure them with screws. This significantly enhances lateral stability.
- Adjustable Legs (Optional): If you anticipate uneven surfaces, consider using adjustable leveling feet on the bottom of your legs.
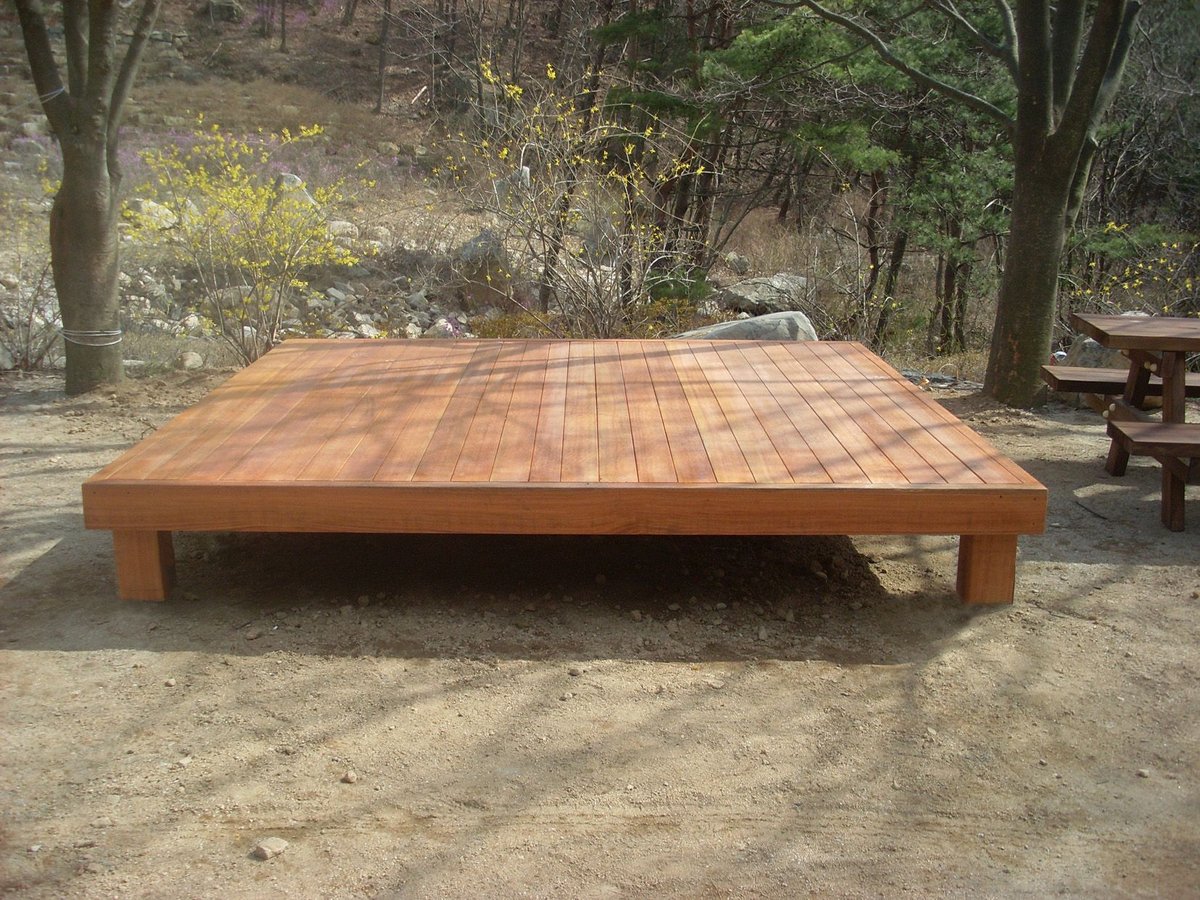
6. Finishing for Durability and Aesthetics
With the structure complete, it’s time for the final touches that protect your investment and make it look professional.
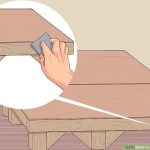
- Smooth Edges: Sand down any rough edges or splinters on the plywood and lumber.
- Protective Finish: Apply a coat of paint, stain, or polyurethane. This protects the wood from moisture, wear, and tear, extending its lifespan.
- Optional Flooring: Consider adding carpet, rubber matting, or a vinyl covering to the platform surface. This improves grip, reduces noise, and enhances the overall aesthetic.
Enhancing Your Platform: Best Practices for Performance & Longevity
Beyond the basic build, a few strategic considerations can elevate your platform from good to great.
Mastering Portability: Connectors and Wheels
If you’ve opted for modular sections, streamline assembly and disassembly. Use quick-release fasteners or large carriage bolts with wing nuts to connect adjacent platform sections. This allows for quick setup without needing a toolbox full of wrenches. For individual sections, you can even add heavy-duty casters (wheels) to the legs, allowing you to roll platforms into place. Just ensure the wheels have locking mechanisms to prevent unwanted movement during use.
For a broader overview of DIY stage building techniques and design philosophies, you might want to Build your own stage, incorporating these platform principles into a larger vision.
Smart Storage Solutions: Organization is Key
When disassembling your portable platform, careful organization saves time and hassle. Label each leg and its corresponding corner on the platform (e.g., “A1,” “A2,” “B1,” “B2”). This ensures that when you reassemble, each leg goes back into its original, perfectly drilled position, preventing misalignment. Removing the legs from the platform sections significantly reduces the storage footprint, allowing you to stack the flat platform tops and bundle the legs separately.
Acoustic Considerations: Taming the Rumble
Empty wooden platforms can act like giant drums, amplifying footfalls or equipment vibrations. To combat this:
- Underlayment: Lay a layer of mass-loaded vinyl (MLV) or high-density acoustic foam directly onto the frame before screwing down the plywood sheathing.
- Carpet: A thick carpet or rug on the platform surface will absorb impact noise and sound reflections.
- Rubber Feet: Place rubber or felt pads under the platform’s legs to decouple it from the floor, reducing vibrations transmitted to the ground.
Estimating Your Investment: Understanding the Cost
The cost to build a wooden stage platform can range from a few hundred dollars for a basic, small unit to over a thousand for a large, complex, multi-section stage with premium finishes. The biggest factors influencing cost are the size of the platform, the type of lumber (pressure-treated is more expensive), and any optional features like sound dampening or specialized flooring. Always factor in fasteners and tools if you don’t already own them.
Safety First: Non-Negotiables for Peace of Mind
No matter how well-built your platform is, safety must always be your top priority.
- Always Wear Safety Gear: This isn’t optional. Safety glasses and ear protection are a must when operating power tools.
- Quality Materials & Workmanship: Use sound, straight lumber and follow proper construction techniques. A shoddy build is a dangerous build.
- Never Overload: Strictly adhere to your calculated weight capacity. Pushing limits risks collapse and serious injury.
- Regular Inspections: Before every use, thoroughly inspect the platform. Check all fasteners, joints, and the surface for any signs of damage, loosening, or wear. Repair issues immediately.
- Ensure Stability & Levelness: A wobbly platform is unsafe. Ensure all legs are firmly attached and the platform is perfectly level. Use shims if necessary on uneven ground.
- Check Local Codes: For public venues or permanent installations, consult local building codes and regulations. Permits or inspections might be required.
Quick Answers to Common Platform Questions
Got a few more questions rattling around? Here are crisp answers to frequent inquiries about building stage platforms.
How high should a stage platform be?
The ideal height depends on its purpose. For intimate speaking engagements, 6-12 inches might suffice. For bands or theatre, 18-36 inches is common to ensure visibility over seated audiences. Consider audience sightlines and performer comfort.
Can I use wooden pallets for a platform?
While pallets can be a budget-friendly base, they come with significant caveats. Pallets often have inconsistent dimensions, may contain chemicals or pests, and rarely offer a smooth, even surface without extensive modification. If you use them, ensure they are completely dry, structurally sound, and you still add a strong ¾-inch plywood top. It’s generally safer and more reliable to build a frame from new lumber.
How do I make my platform less noisy?
Layering is key. Use construction adhesive with screws when attaching the plywood top to the frame. Add mass-loaded vinyl or acoustic foam between the frame and the plywood. Finally, cover the platform surface with carpeting or a dense rubber mat to absorb impact noise.
What’s the difference between screws and nails for framing?
Screws provide significantly stronger holding power, resisting pull-out and shear forces far better than nails. They also allow for easier disassembly without damaging the wood. Nails primarily rely on friction and can work loose over time, especially with movement or vibration. For a sturdy and reliable platform, screws are the superior choice.
How many legs do I need for a 4’x8′ platform?
At minimum, you need four legs, one in each corner. However, for enhanced stability and to support the central joist, adding two more legs along the center (one at each end of the central joist) is highly recommended. This brings the total to six legs for a robust 4’x8′ platform. For taller platforms, diagonal bracing connecting these legs is essential.
Your Next Step: Elevate Your Space with Confidence
Building your own wooden stage platform is a rewarding project that combines practical craftsmanship with the joy of creating something truly useful. By meticulously planning, selecting the right materials, and following a precise construction process, you’ll produce a platform that’s not only visually impressive but also incredibly sturdy and, crucially, portable. Take your time, prioritize safety, and soon you’ll be giving your performances and presentations the solid, elevated foundation they deserve.

- How to Build a Makeshift Stage Quickly and Affordably - June 9, 2026
- How to Make a Stage Platform Sturdy and Portable from Wood - June 8, 2026
- Construct a DIY Wooden Stage Platform That Folds Flat - June 7, 2026